Engineered for Busy Spaces
Our quartz systems are designed for classrooms, passages, admin blocks and commercial spaces where safety, durability and cleanability are non-negotiable.
A behind-the-scenes look at the Sarmeda method – from grinding and priming to screeding, tightening, polishing and sealing.
Quartz carpet flooring is one of the most durable and elegant systems available – but it only performs at its best when it’s installed correctly. At Sarmeda Flooring Services we follow a strict, multi-stage process to make sure every classroom, office or home we work on is beautiful, safe and long-lasting.
Below we walk you through our full installation method, using a real project at a local school as an example – including preparation, screeding and the final por-fill seal coat.
Every successful quartz floor starts with a sound, well-prepared substrate. We begin by mechanically grinding the existing concrete to remove old glues, paints and weak surface laitance.
This grinding:
Why this matters: A quartz carpet floor is only as good as the base it bonds to. Skipping proper preparation can lead to bubbling, peeling, and premature failure – which is why we never compromise on this step.
Once the floor is clean and dry, we apply a high-quality primer across the entire surface. The primer:
We only proceed when the primer has reached the correct tack level – not too wet, not too dry – for optimal bonding.
Next, we mix high-quality, UV-stable quartz stone with a specialised epoxy binder in carefully controlled ratios. This gives a flexible yet hard-wearing floor that can handle the movement and daily traffic of busy school corridors and classrooms.
The mix is poured onto the primed floor in measured quantities, ready for the screeding team to work it out.
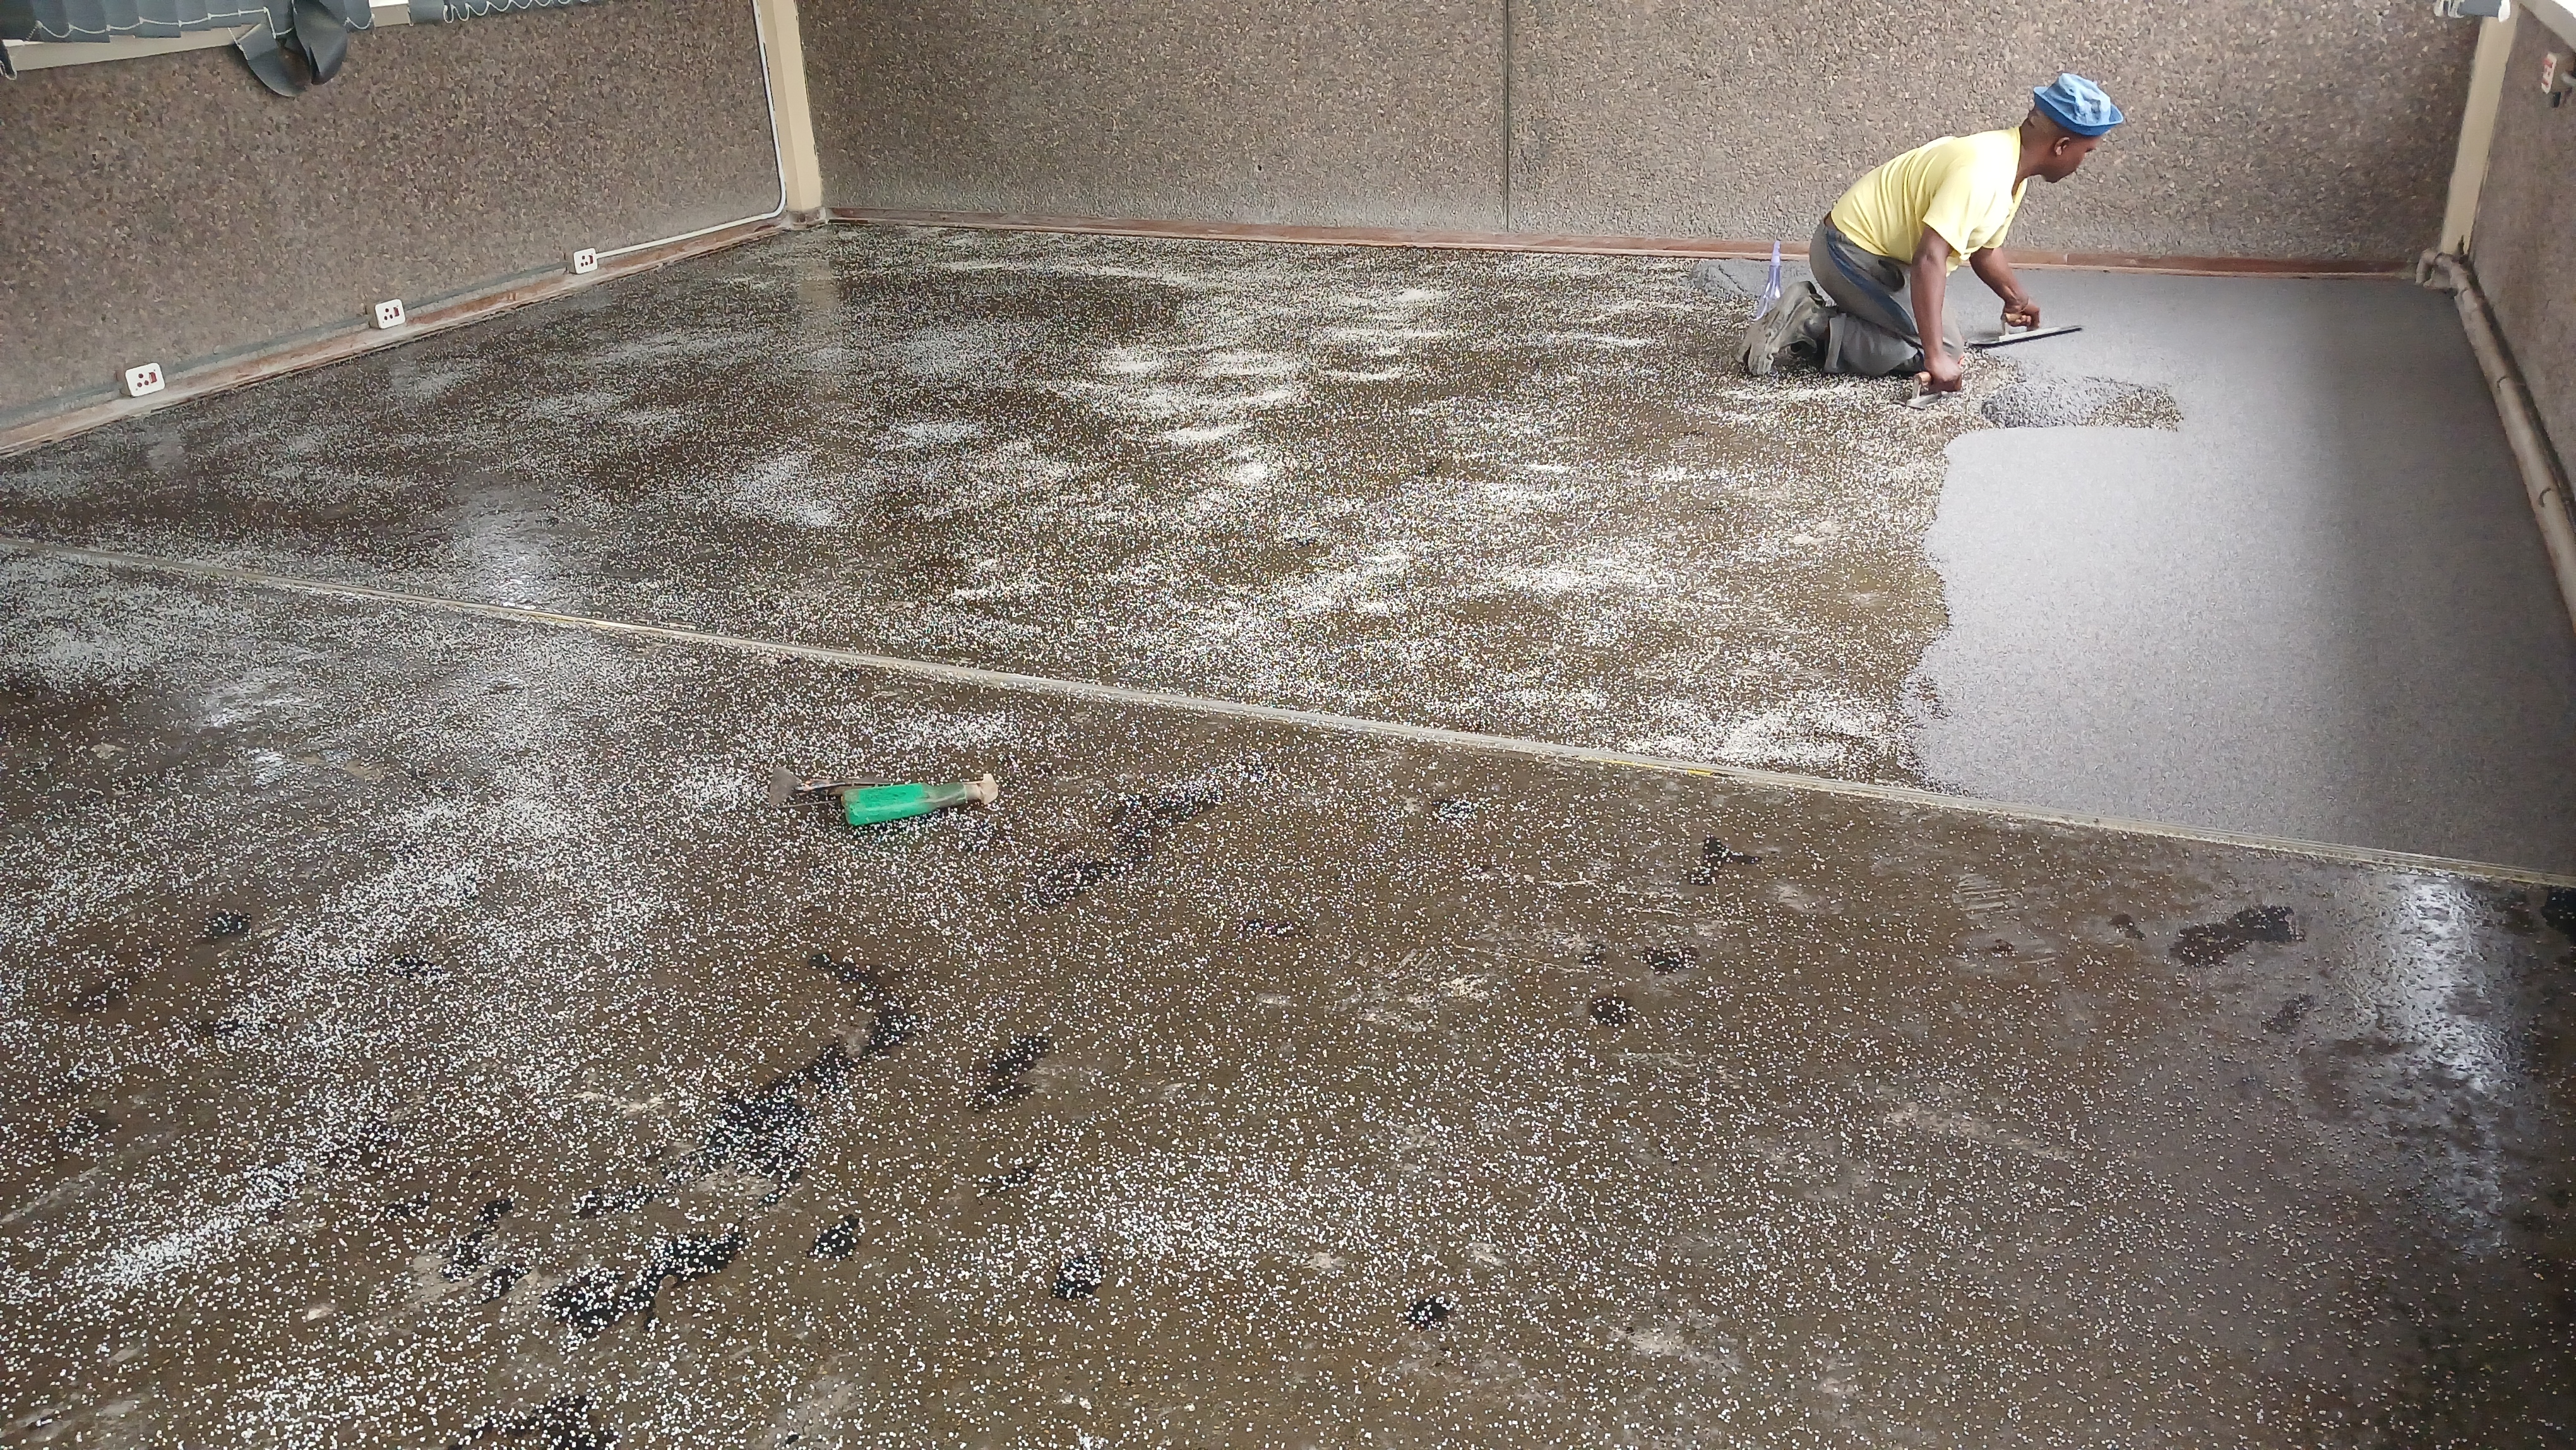
With the fresh mix on the floor, our installers use specialised trowels to spread the quartz carpet to a consistent thickness – typically around 6–8 mm, depending on the specification.
The next pass is all about tightening and compacting the stone, closing the structure and bringing the binder to the surface just enough to lock everything together.
Craftsmanship detail
This is a hands-on, physical step that demands experience and timing.
A well-tightened screed prevents weak spots, colour variation, and early
wear in high-traffic areas.
After the quartz has settled and started to cure, we lightly polish the surface. This removes loose stones, high spots and micro-imperfections to create a smooth, even texture underfoot.
At this stage the quartz stone layer is fully formed. You can already see the colour, pattern and quality of the installation before the sealing coat is applied.
Any last checks for texture, level and transitions are done here, so the por-fill seals a floor we are already proud of.
The final stage is the por-fill coat – a clear sealing layer that penetrates and locks the quartz stones in place.
For this school project, we used a **low-sheen finish** that reduces glare and hides day-to-day wear beautifully.
Our quartz systems are designed for classrooms, passages, admin blocks and commercial spaces where safety, durability and cleanability are non-negotiable.
We work with engineers where required and treat structural cracks and joints correctly before installing, instead of simply covering and hoping for the best.
We use high-quality, UV-stable binders and graded quartz stone – never cheap fillers – to ensure performance over many years.
From grinding to por-fill, the same team controls each stage of the process. That consistency is visible in every finished floor we hand over.
Let’s talk about a quartz carpet solution that fits your space and your budget. We can inspect your existing floors, advise on preparation and provide a detailed quotation.